Keep in mind that the latest version of Firefox is not compatible with the enrollment process. Since Firefox by default is configured to auto-update, you might need to disable this feature before downgrading to a compatible version of the browser (to avoid Firefox auto-update after the installation is complete).
...
This user guide starts when the PKI certificate request has been approved and the end user (OpenPeppol OpenPEPPOL Member) has received the enrollment email (mail with subject 'Enroll for your (xyz OpenPEPPOL) certificate') and the SMS containing the enrollment code.
In order to complete the enrollment a compatible Operating system and Web browser is needed. For a complete list of supported combinations, please refer to the Requirements-section.
...
- Navigate your web browser to the link in your enrollment mail. You should be greeted with a page asking you to enter the 'Service Provider ID'.
Your assigned 'Service Provider ID' can be found in the enrollment mail. Please be aware of that if you are applying for multiple certificates then the same Service Provider ID will be reused for all your certificates.
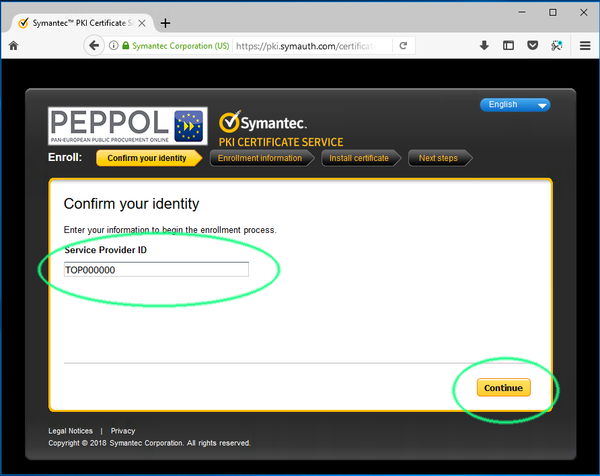
Fill in your Service Provider ID and click continue. In the next step, refer to your received SMS that contains the enrollment code. If you have applied for multiple types of certificates, make sure you use the expected code for the current type of certificate you are enrolling for.
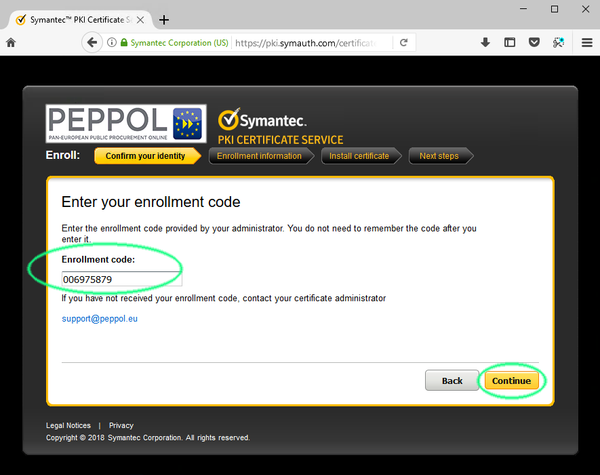
Enter the enrollment code and click continue.Next step will confirm whether you entered the expected details correctly.
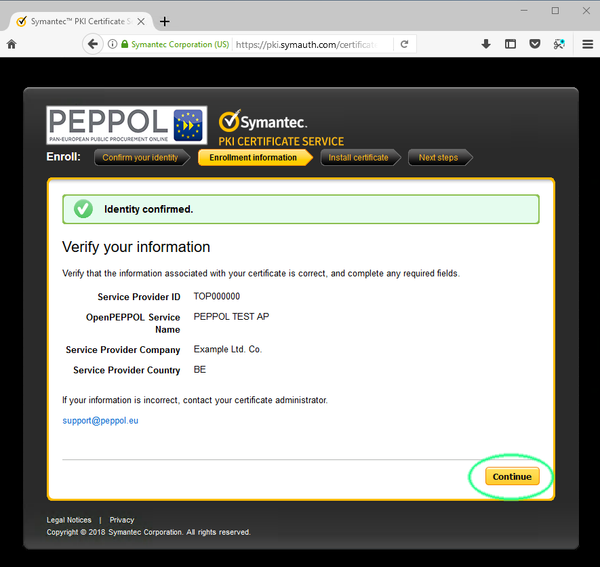
Verify that the displayed information is correct and click continue.
- You will now be informed about the certificate generation process.
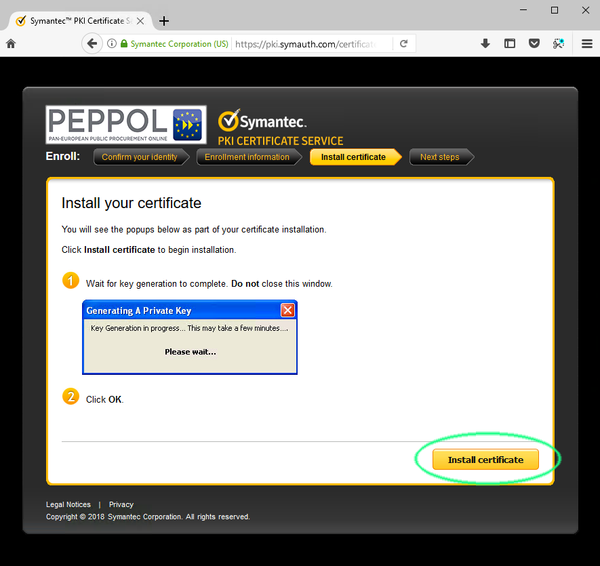
Read through the information and click 'Install certificate'
The certificate will now be generated and installed in your web browsers keystore.
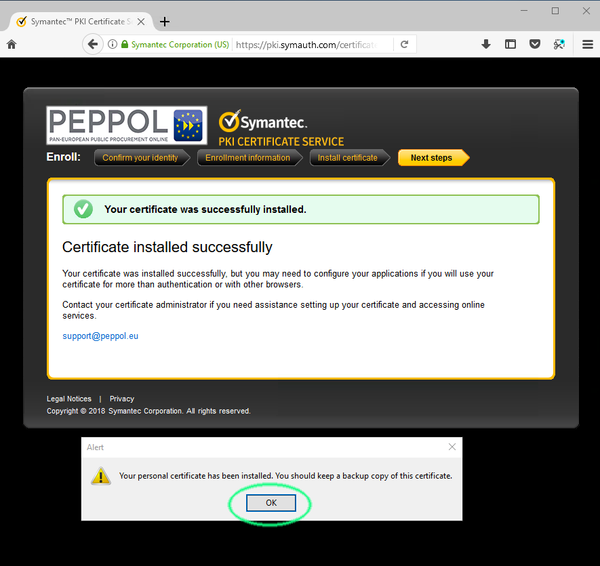
Click ok 'OK' to confim confirm and close the alert.
It is now safe to close the web browser tab you used for the certificate generation process.
...
- In your web browser (that you used during the enrollment), either navigate to 'Preferences' and then click the 'Privacy & Security' tab, or enter the following URL manually 'about:preferences#privacy' and hit enter.
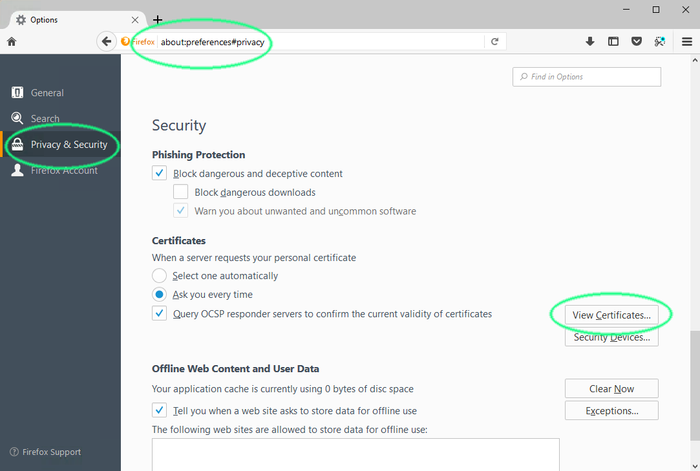
Browse down to the Security-section and then click 'View Certificates'.
A pane with all your certificates will open.
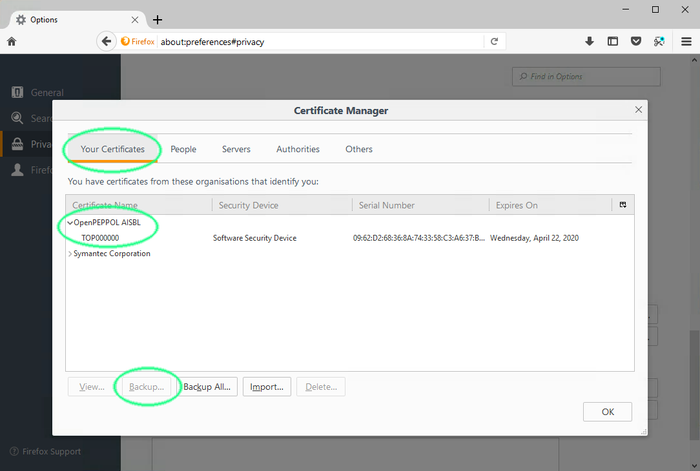
Open the 'Your Certificates'-tab, navigate to the certificate you just issued and select it. Now click 'Backup...'.
The default target format for the private certificate key-pair is PKCS 12PKCS12.
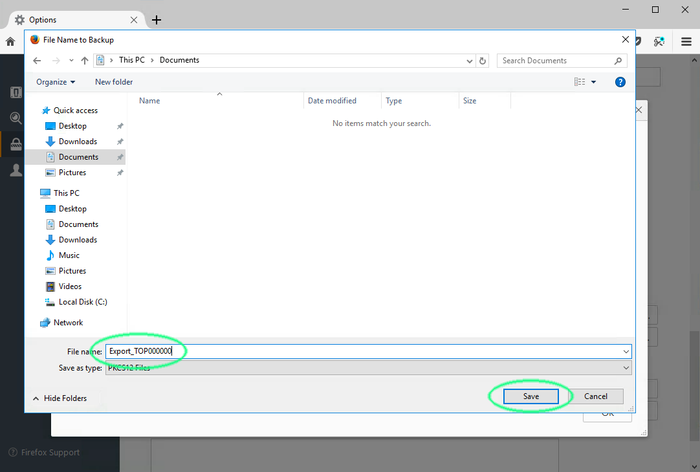
Choose a location and set a filename, then click Save.
Set a strong password to protect your PKCS12-file.
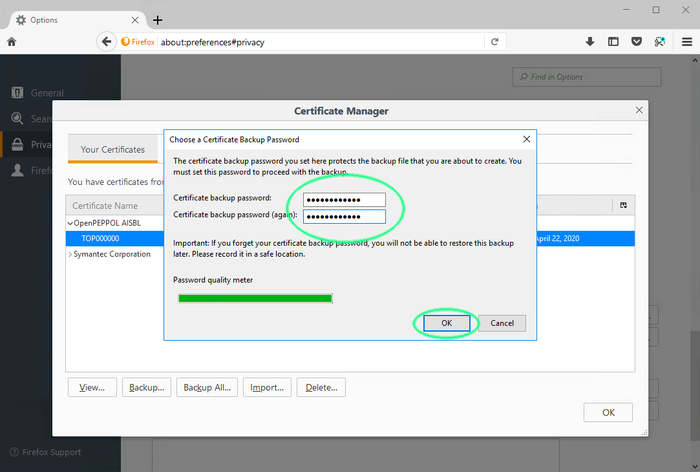
Click Ok.
You have exported your certificate and it is ready to be used in your implementation. Verify that you can read the PKCS12-file and that the contents match what is expected.
- It is recommended to not leave a copy of the certificate in the web browsers keystore. Navigate back to the browsers keystore.
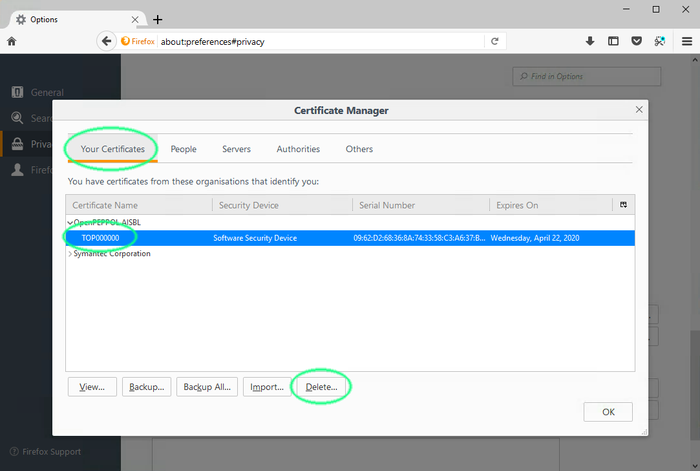
Select the issued and exported certificate, then click 'Delete...'
- A confirmation dialogue will pop-up
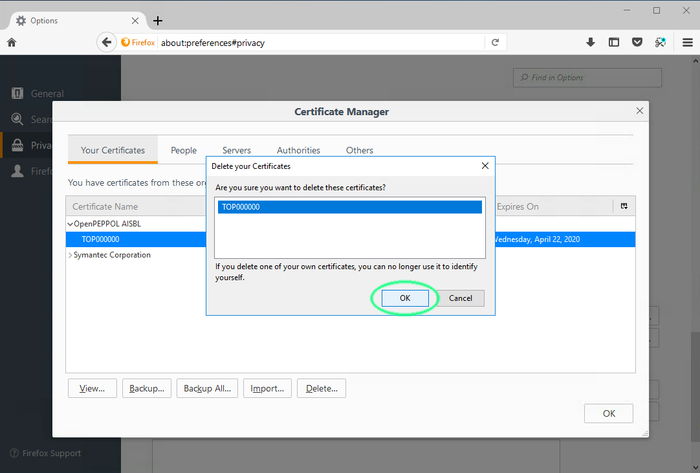
Click 'OK' to delete the certificate from the web browsers keystore.
...